What is a Tubeless Tire?
A Tubeless tire is a type of pneumatic tire that does not require a separate inner tube to hold air. The tire and wheel rim form an airtight seal, preventing air from escaping. The tire is mounted directly on the rim, which has a specific design to help maintain this seal.
Tubeless tires offer several advantages over conventional tube tires. It has no inner tube which reduces the chance of tire puncture. If punctured, tubeless tires typically deflate more slowly, providing added safety. They also offer a smoother ride and better performance, especially in off-road conditions, as they can be run at lower pressures without risking a flat. Additionally, many tubeless setups can be combined with a liquid sealant that automatically seals small punctures, increasing reliability.
Tools and Materials Needed

Essential Tools for Installing Tubeless Tire
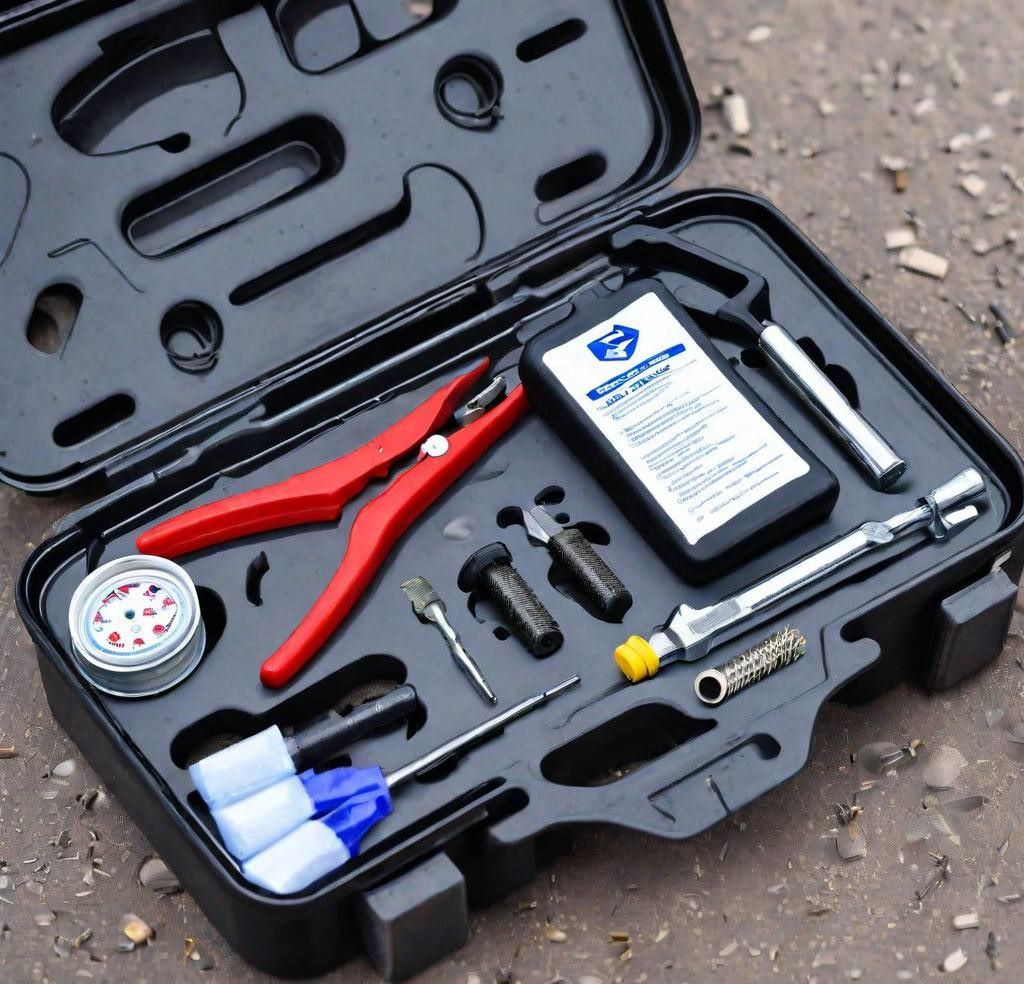
Before diving into the installation process, gathering all the necessary tools and materials is crucial. This section will provide an overview of which tools and materials you need to install tubeless tires.
- Tubeless-Compatible tires: Tubeless tires are required during the installation process. They have a special bead that seals tightly against the rim, preventing air leaks. Select a tire that matches your riding style and the terrain you will be riding on. Ensure it is labeled as Tubeless-ready (TLR).
- Tubeless- compatible rims: Check the rim for any damage or sharp edges that could prevent a proper seal. It should be clean and smooth. Tubeless-compatible rims are specifically designed to work without an inner tube. They have a secure bead seat and airtight design, often featuring a hooked or hook less profile, which allows tubeless tires to seal properly and maintain air pressure.
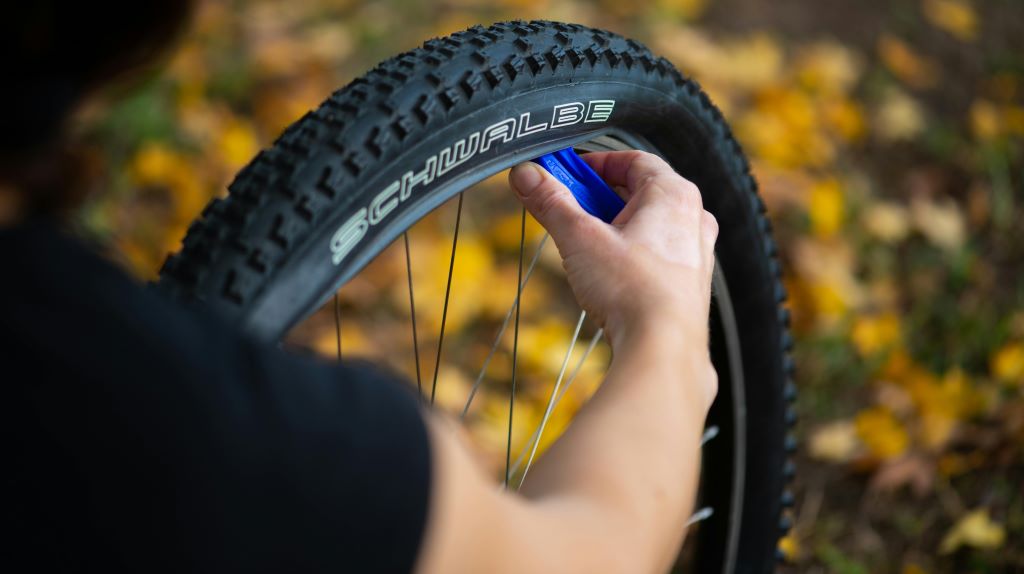
- Tire levers: Tire levers are essential tools used to remove and install tires on a rim. Typically made of plastic or metal, they help pry the tire bead away from the rim, making it easier to change or repair a tire. They’re crucial for cyclists and automotive enthusiasts alike.
- A Tubeless valve and valve stems: A tubeless valve is a crucial component used in tubeless tire setups. It fits into the rim and creates an airtight seal, allowing the tire to be inflated without an inner tube. Typically, it includes a removable core to facilitate adding sealant and adjusting air pressure.
- Valve Core Removal tool: A valve core removal tool is a small, specialized tool used to remove and install valve cores from tubeless tire valve stems. This tool allows you to add sealant or replace defective valve cores efficiently. This allows for easy injection of sealant and better airflow during initial inflation.
- Tubeless tire Sealant: The tubeless tire sealant is a liquid solution used inside tubeless tires to seal punctures and prevent air leaks. It works by flowing into holes and hardening upon contact with air, ensuring continuous tire pressure and reducing the risk of flats, making rides smoother and more reliable.
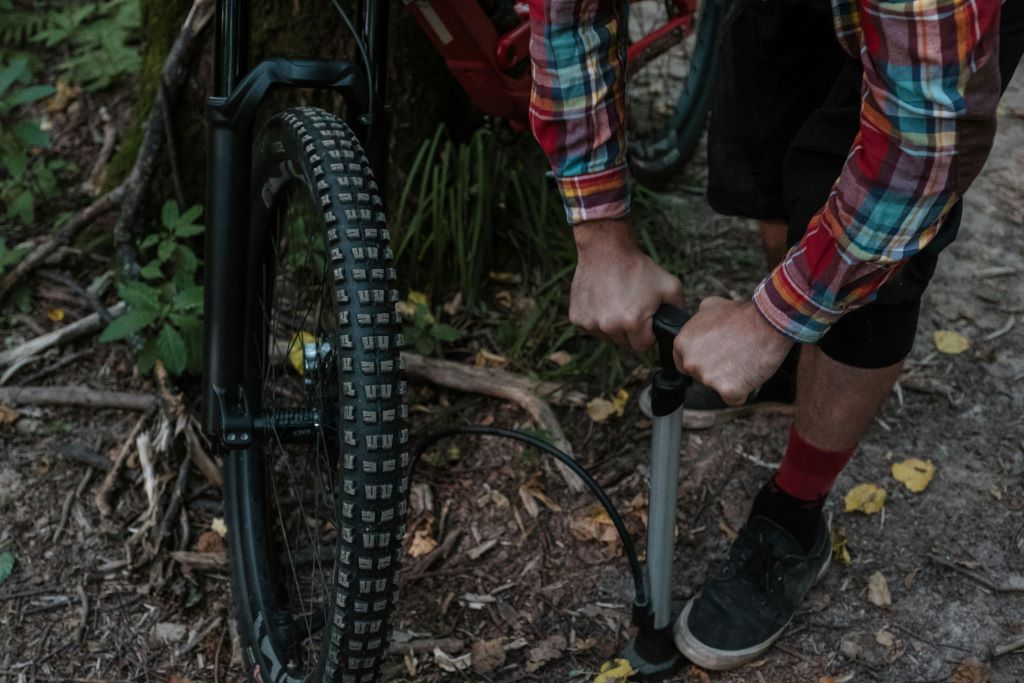
- Air compressor or high-volume pump: An air compressor or a high-volume pump is necessary to rapidly inflate the tire, which helps seat the bead onto the rim. Some tubeless setups require a burst of air to properly seat the tire. This tool is more effective than standard bike pumps for tubeless tire installation.
- Rim tape (if necessary): Rim tape is used to seal the spoke holes in the rim and create an airtight barrier. Properly applied rim tape is crucial for maintaining tire pressure and preventing leaks. If your rim is not already tubeless-ready, applying rim tape is a necessary step to prevent air leakage.
- Cleaning supplies (soap, water, cloth): Use soap and water to thoroughly clean both the rim and the tire. Remove any dirt, debris, or old sealant. Clean cloths are used to wipe down the rim and tire to ensure they are free from dirt and debris. Soapy water helps in seating the tire bead and identifying leaks by creating bubbles at leak points.
Safety Gear and Precautions
Installing tubeless tires can be a rewarding process, but it requires careful attention to safety. Ensure the tire and rim are compatible in terms of size and tubeless compatibility. Consult the manufacturer’s guidelines if unsure.
- Gloves to protect your hands
- Safety glasses to prevent sealant from getting into your eyes
- A clean and spacious working area
- Protective Clothing
Step-by-Step Installation Guide

Removing the Old Tire
- To begin installing tubeless tires, the first step is to remove the old Tire from the rim.
- To make it easier to handle, hold down the valve core to release all the air in the tire so that the tire is completely deflated.
- Once deflated, use the tire lever to keep the tire bead away from the rim. Insert the tire lever under the bead of the tire and gently work it around the circumference of the rim, closing the tire in small sections. Be careful not to damage the rim or tire in this process.
- After one side of the tire is free, repeat the process on the other side until the tire can be completely removed from the rim. If there is an inner tube, remove it and set it aside.
Cleaning and Preparing the Rim
- After removing the old tire, clean the rim thoroughly. Wipe the rim with a clean cloth to remove any dirt, debris, or old sealant.
- Use soap and water to clean the rim more effectively, making sure no contaminants remain that could prevent a proper seal.
- Pay particular attention to the bead seat area of the rim when cleaning, as this is the area where the tire will need to form an airtight seal. Once the rim is clean, dry it completely using a soft cloth.
- If you use rim tape to seal the spoke holes and create an airtight barrier, carefully apply the tape around the rim. Make sure it sticks easily without any wrinkles or gaps and use a sharp tool to pierce a small hole in the valve stem.
Installing the Tubeless Valve
- After cleaning and preparing the rim, the next step is to install the tubeless valve.
- Insert the valve stem through the valve hole in the rim from the inside. Make sure the rubber grommet on the valve stem sits flush with the inside of the rim, creating an airtight seal.
- Secure the valve stem by threading the valve nut onto the stem from the outside of the rim. Tighten the nut by hand until it is tight, but avoid over-tightening, which could damage the rim or valve.
- Check that the valve is positioned correctly and securely, as any movement may cause an air leak later.
Seating the Tire on the Rim
- Once the tubeless valve is installed, you can begin seating the tire on the rim.
- Start by placing one side of the tire onto the rim, working it around evenly until it is completely seated. Next, work on the other side of the tire, starting at the valve and pushing the tire bead into the rim groove.
- Use your hands to push the bead over the rim edge, moving around the tire until it is fully seated.
- This step can be challenging, especially with tighter tires, but take your time to ensure the bead is evenly distributed around the rim. If necessary, use tire levers to help seat the tire without damaging the bead.
Adding Sealant
- After the tire is seated on the rim, the next step is to add sealant. Tubeless sealant is essential to seal any small gaps and prevent air leaks.
- Shake the sealant bottle well before use to ensure the ingredients are well mixed. If the tire bead is not fully seated, you can pour the recommended amount of sealant directly into the tire before completing the seating process. Alternatively, if the tire is fully seated, you can remove the valve core and inject sealant through the valve using a sealant injector.
- Generally, 2-4 ounces of sealant is sufficient, but check the manufacturer’s instructions for the exact amount. Once the sealant is added, reinstall the valve core if you removed it.

Inflating the Tire
- After adding the sealant, it’s time to inflate the tire. Use a compressor or high-volume pump to quickly inflate the tire, as this helps seat the tire bead securely against the rim.
- Begin inflating the tire, checking that the bead is properly seated in the rim as you go. Inflate the tire to the recommended pressure, which is usually marked on the sidewall of the tire.
- If the bead is not seated properly, you may hear a series of pops as the bead snaps into place. This is normal and indicates that the tire is sealing properly. Stop inflating the tire once it arrives at the ideal pressure.
Checking for Leaks
- After inflating the tire, it’s essential to check for leaks to ensure the tubeless system is airtight.
- Spray soapy water around the tire bead, valve, and any other areas where air might escape. Look closely for any bubbles forming, which indicate an air leak. If you find any leaks, deflate the tire and try reseating the bead or adding more sealant as needed.
- Sometimes, simply rotating the tire and bouncing it gently on the ground can help distribute the sealant and seal small leaks. Repeat the process until no bubbles are visible and the tire holds air consistently.
Balancing the Tire
- The final step in installing a tubeless tire is balancing it to ensure a smooth ride. Spin the tire and observe if it wobbles or appears unbalanced.
- An unbalanced tire can lead to vibrations and uneven wear. If the tire is not balanced, adjust it on the rim by deflating it slightly and repositioning the bead until it spins smoothly. Once balanced, re-inflate the tire to the correct pressure.
- Balancing may take a few tries, but it is crucial for optimal performance and safety. With the tire properly balanced, you can enjoy the benefits of a reliable and efficient tubeless tire system.
Troubleshooting Common Issues
Tire Won’t Seat Properly
- A common problem when installing tubeless tires is that the tire does not sit properly on the rim. You can follow some steps to solve this problem. First, make sure both the tire and rim are completely clean and free of debris or old sealant. Applying soapy water to the tire bead and rim can help the tire slide into place more easily.
- Another technique is to partially inflate the tire to help seat the bead on the seat, then deflate it slightly and adjust the bead by hand before fully re-inflating. Using a compressor or high-volume pump can also be beneficial, as a quick burst of air can help hold the beads in place.
- If the tire still does not fit properly, you may need to remove it and check for damage to the bead or rim.
Air Leaks Around the Valve
- Air leaks around the valve are another common problem encountered when installing tubeless tires. To address this, first check that the valve is securely tightened. The valve nut should be hand-tightened until it is snug.
- If the valve still leaks, remove it and inspect the valve hole for any debris or irregularities that might be preventing a proper seal.
- Reinstall the valve, ensuring that the rubber grommet on the inside of the rim sits flush against the rim surface. You can also apply a small amount of sealant around the base of the valve to help create an airtight seal. If leaks persist, it may be necessary to replace the valve stem with a new one to ensure a proper fit.
Difficulties in Inflation
- Ensure that the tire and rim are properly aligned before starting inflation. If the bead still doesn’t seat, try using a tire booster or an inflator with a built-in chamber designed to release a large volume of air rapidly. This can help force the bead into place.
- Additionally, ensure that the valve core is removed during the initial inflation to allow for better airflow. Once the bead seats, replace the valve core and inflate the tire to the recommended pressure.
Sealant Spillage
- Dealing with sealant spillage can be a messy part of installing tubeless tires, but it’s an important step to get right. To prevent spillage, ensure that you are using the correct amount of sealant as recommended by the tire manufacturer.
- When adding sealant, do so carefully and slowly to avoid overflow. If you are pouring sealant directly into the tire before seating the final section of the bead, make sure to rotate and tilt the tire to evenly distribute the sealant without spilling.
- If using a sealant injector through the valve, remove the valve core to allow for easy injection and reinsert it promptly after adding the sealant. In case of any accidental spillage, clean it up immediately with a cloth to prevent it from drying and becoming difficult to remove.
Unbalanced Tire
- An unbalanced tire can lead to a rough and uncomfortable ride, making it crucial to address any balance issues during installation.
- After inflating the tire, spin it and observe its movement. If the tire wobbles or shows signs of being unbalanced, you may need to adjust the tire on the rim.
- Deflate the tire slightly and reposition the bead, ensuring it is evenly seated around the rim. Once adjusted, re-inflate the tire and check the balance again.
- In some cases, adding a small amount of sealant and rotating the tire can help distribute weight evenly and improve balance. If the tire remains unbalanced despite these efforts, consider using wheel weights or seeking professional assistance to achieve proper balance.
Frequently Asked Questions (FAQs)
Yes, you can convert a tube tire to a tubeless tire using a tubeless conversion kit, which includes rim tape, tubeless valves, and sealant. Ensure your rim is tubeless-compatible.
Disadvantages include higher initial cost, more complex installation, and the need for regular sealant maintenance. They can also be difficult to install and inflate without a compressor.
To air up a tubeless tire, use a high-volume pump or compressor. Ensure the tire bead is seated properly and inflate quickly to help the bead snap into place.
While a standard pump can work, a high-volume pump or one with a built-in chamber for quick air release is recommended to help seat the tire bead.
Insert the tubeless valve through the rim hole, ensuring the rubber grommet sits flush against the rim interior. Secure the valve with the nut, tightening it hand-tight to ensure an airtight seal.
The lifespan of a tubeless tire varies based on usage, terrain, and maintenance. On average, a tubeless tire can last between 2,000 to 5,000 miles.
Installing Tubeless tires involves several steps, including preparation, installation, and regular maintenance. Tubeless tires represent a significant advancement in tire technology, providing enhanced safety and performance. Whether you’re a casual rider or a professional, making the switch to tubeless tires can greatly improve your overall riding experience.

5 thoughts on “How to Install Tubeless Tires?: 8 Easy Steps”
Comments are closed.